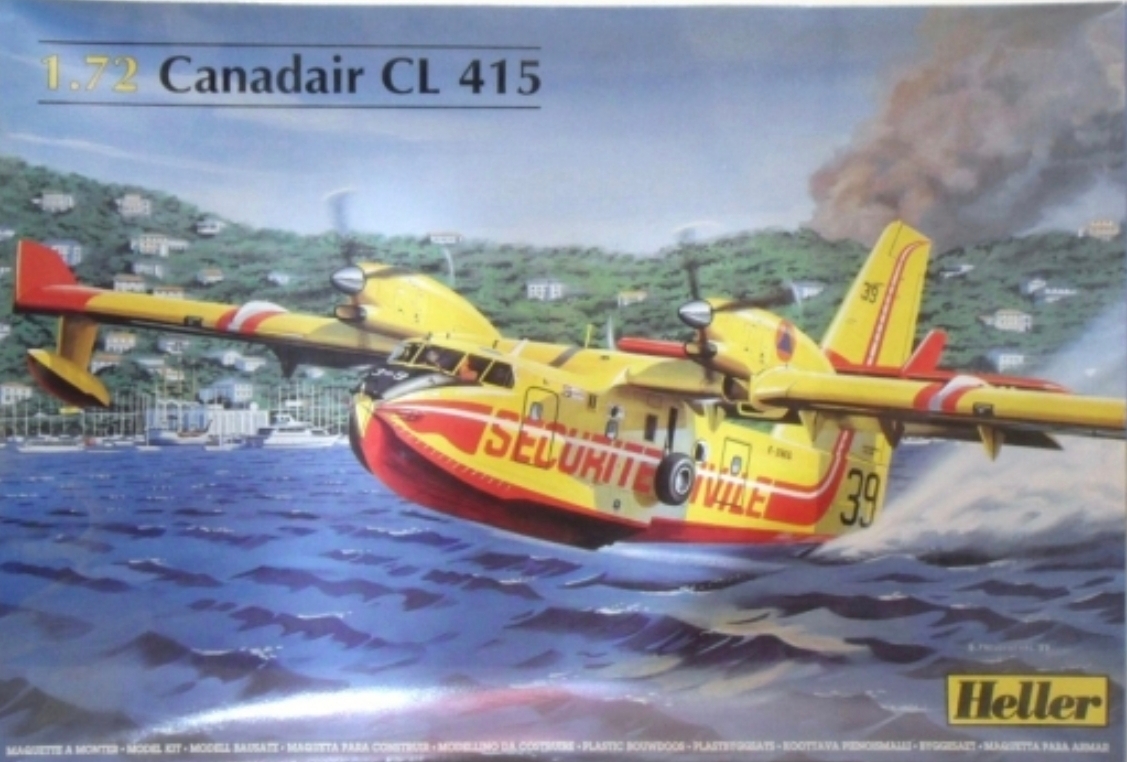
Canadair made legends – from the small and nimble CT-114 Tutor to the mighty firefighter CL-215. The CL-415 was the culmination of decades of experience as the leading aviation experts in amphibious water bombers. It remains in use around the world and is the base of it’s successor (now developed by Viking).
I saw this model sat in a model shop on my travels and had to get it. It had been on my list for the longest time, and it just looked iconic. It’s vibrant yellow and red drawing my eye each time I saw it on Heller’s website. So I was thrilled to be able to support a local model shop but also get an aircraft that I was so enamoured by!
The kit is simple given it’s size. Whilst it can seem intimidating due to it’s size once you really examine it it’s a lot of simple steps that fall together quite quickly. My boxing was either one that contained extra markings or was resealed. My thoughts are on the latter given the extra research included in mine.

The plastics were different colours too – featuring a darker yellow and lighter yelllow. I’m unsure if this is always from some replacements or if this is how the kit was produced originally…alas, it seemed to have had all the components I needed. I did, however, lose the cockpit when making it and bought a replacement from everyone’s favourite auction site.
I did find the join between the fuselage and the ‘boat bottom’ side to be difficult and have somewhat a gap. I assume that the kit probably has some challenges as it’s older, but also imagine it’s somewhat my own inexperience too. Nevertheless it suddenly just became a plane before my eyes. I regret spending *any* timeodoing the inside beyond the cockpit. You can see none of it, and in the future I’d skip it. If you also cannot be bothered that’s perfectly valid.

The engines did need some filling on their join to the wing but otherwise it needed surprisingly little. I didn’t sand as much as you’d probably expect too because I didn’t want to ruin the lovely correlated texture on the plane. Plus the seam lines sorta just fade into that anyway.
As for the painting…well mine went a bit wrong. I tried to do the red first, assuming it’d be easier to repaint the red on top rather than the yellow on red. What I didn’t anticipate, however, was using the wrong pressure and consistency leading to super thin and translucent coats of paint. I’ve since learnt to prime in pink for yellow, however in this instance I resorted to Revell Yellow spray can! The red was Gaahleri’s Kaleido Red and went on lovely. I was surprised how well it held back againt the lines of tape – especially with the correlated texture.
After tthat I chose the lovely anniversary decals due to the bird on the nose. It was such a cute scheme I just had to do it! Again, considering the correlated texture I was shocked at how smoothly these went on – both the Syhart and Heller decals! With the micro-sol and micro-set they adhered to the textured surface giving a real and genuinely painted on appeal.

For the transparencies I chose to use Glue n Glaze rather than bothering with masking earlier on. I had just blocked up the cockpit before and I did sponge up the windows too to try and stop paint bleed to the mostly hidden interior. This worked well and safe me a lot of effort earlier on – masking windows is my dread because sometimes it goes wrong. This method is lazier and never goes wrong! There is a bubble window that I didn’t cut out earlier…sooooo I had to do that. But not much time later it was done and my beast was made.
I chose to do my model wheels up. I think I cut them incorrectly but nevermind. I’d never really considered wheels up before but decided I was going to start hanging models in my hallway and this meant it made sense to do it wheels up. It now hangs beautifully by the door to my bathroom which feels rather ironic.

Buy or Fly
This kit is not one for beginners – but it doesn’t take an absolute expert either. It takes a little bit of patience and perserverance, but it’s a lovely model. I really enjoyed my time putting this together, and seeing the yellow behemoth form in a rather short time frame was wonderful.
I magnetised my props (something I do on most my builds) to make it easier to paint and handle, and it was easy to do with this kit. The painting is challenging because…well Yellow is always horrid to do. I’ll do a proper article on doing yellow in the future but for now just think pink!
This kit seems to go for £25-30 (same price in Euros too). For it’s size and being pretty much the only game in town for this subject it’s definitely worth it. Other manufacturers have reboxed this with varied decals so choose your boxing based on that I guess…but honestly you might find it cheaper to buy the kit and some extra decals! So overall? Buy!
Leave a Reply