Big schemes; small kits.
The Airfix Club kit this year is a bit of an oddity. Not only is it re-issues with new decals, but it also features 3D parts that must be printed from home. In this article (and both the videos I did) I’ll cover what this kit really is, and if you should Buy or Fly (aka buy it, or fly awayyyyy from it).
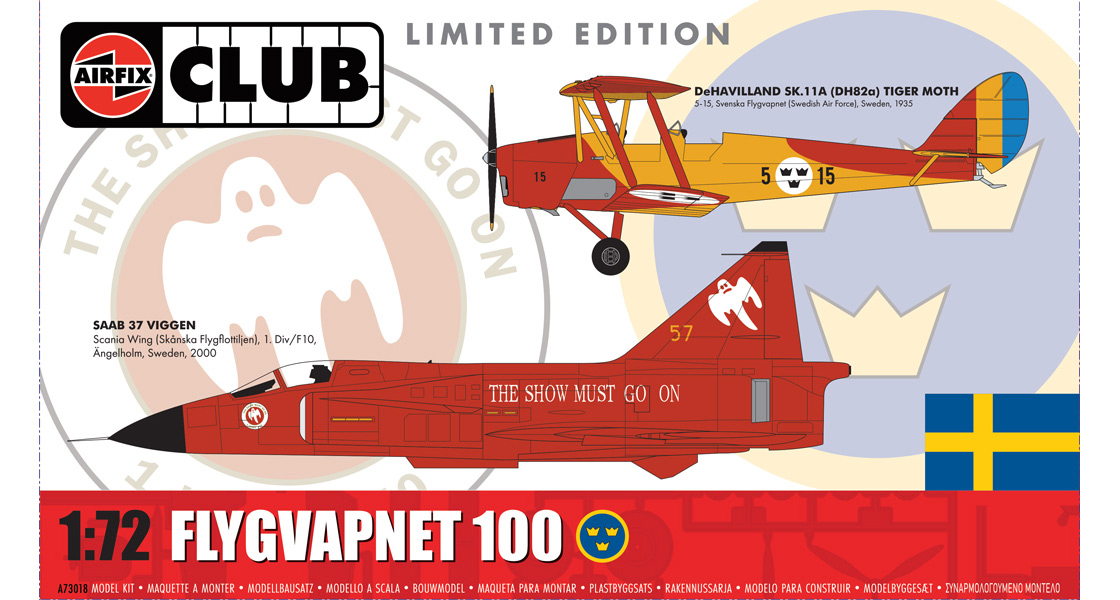
Firstly, let’s look at the kits and the subjects. The kits are a mixed bag. The Viggen is a 1971 tooling that is based on the prototype, meaning it isn’t always accurate for later versions of the Viggen. The Tiger Moth is the new tooling and, as such, is much nicer.
The decals for both kits are unusual too – The Tiger Moth being a traditional Swedish scheme, with bright blocky colours and old school markings. The Viggen is bold in red – celebrating the retirement of the type in Swedish service. It’s iconic and I must say means the set is rediculously easy to make. In the video below, I unbox both.
But, is the kit worth your time? Well…that depends on who you are. If you’re a rivet counter then the Viggen will frustrate you and it will take a lot of work to make it more accurate. Not only that, but you’ll need to sand off the raised panel lines and re-scribe it with new ones. Now, I think life is too short for that – Hasegawa already did that kit sooooo I’m not fussed.
For those who just want kits to build and look quite pleasing on the shelf, ceiling, or garden (who am I to say where you put your models) then I think it’s pretty good. Not only is it an easy to assemble icon of indigenous ingenuity but it’s like three colours (black, metallics, lots of red).

The Tiger Moth is different; it’s a good kit with a great colour scheme. I didn’t build it, but a friend of mine did. I have no complaints on this kit, having built one in Norwegian scheme before. It often ends up in Lidl too and is a lovely little mojo build (unless you do the rigging, but I actually low key enjoy that). You can find my review of the Tiger Moth kit also on this site, so go check that out.
I used Gaahleri’s Kaleido range to paint my model. Using their Shine Red and standard black. For the metallics I used Gaahleri’s paint pens and Lifecolour paints as that’s what I had to hand at the time.
The main issue with this kit is the need for 3D Printed parts to make the under fuselage drop tank. The STL wasn’t even on the website at the time of release which felt a bit poor. Plus as someone without a 3D printer it was incredibly irritating that I couldn’t finish the kit. Thankfully one of my colleague content creators – Model Minutes – printed one for himself, and sent me one too.

Buy or Fly
This kit is fun to build, and if you plan on buying a few things from Airfix anyway (new or old) it is a club kit – meaning you’re joining their loyalty program. This can work out that you get free kits and lots of points.
Personally I don’t even know how much I’m spending on the Airfix site this year, but I wanted this kit. For £35 I got two great kits, a few bits of nice merch, and a lovely start to my modelling year.
So yeah, I’d say buy. But, just be aware of all the things I’ve said in this article.

Leave a Reply