The Mirage F1 was a departure from Dassault’s delta line, and an aircraft that looks more akin to traditional jet aircraft. It was developed alongside the Mirage F2 and F3, with only the F1 reaching production after the Armee de l’Air selected it for their inventory. Perhaps surprisingly, the aircraft first flew in 1966 and ended up continuing Dassault’s successful export cycle – serving famously with the Ejército del Aire (Spanish Airforce) and Πολεμική Αεροπορία (Hellenic Airforce). The aircraft remains active with Iran (taken from Iraq), Libya, Gabon, and Morocco.
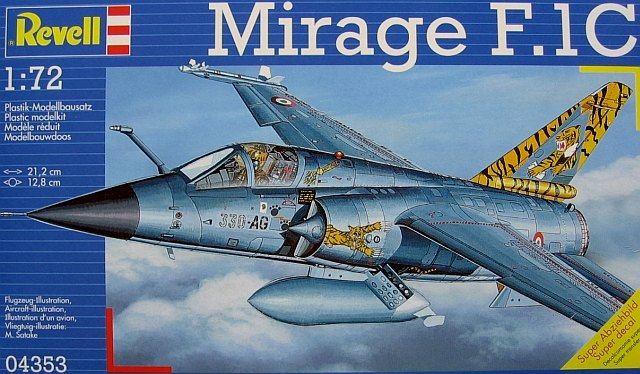
Revell’s kit is a re-boxing of Hasegawa’s from 1983. The panel lines are mostly recessed (probably slightly too deep for some) but look pretty effective. It features standard French markings and the special Tiger Meet markings from 1996. It is this aircraft that you will see on the box art -this is what lured me to this kit!

The kit is very straight forward. It features a few sprues and a clear plastic sprue. It will be familiar to most people. 2 sides of the fuselage, upper and lower wing sections, tail section, and landing gear.
In the end I did not use any weight in my aircraft, however, and it sits perfectly without any need to ‘tap’ the nose if a display gets knocked. The landing gear is pretty robust – much like the real aircraft.
Painting the aircraft is pretty straightforward. I used the Revell paints recommended in the kit which is a mixture of 56 and 47. Getting the exact shade is quite hard, and I used some reference photos to try and get the right shade. I feel mine may have come out more blue than the shade should have been, but the photos I have seen, and the colour of the decals, do seem to match my shade quite well. I think my mixture was about 60% 47 to 40% 56. The yellow tail section was a single colour, and I painted this straight on a primed grey surface (a couple of thin coats).
The decals did look quite complicated for the tail section. As I’ve said before – I am not expert modeller (yet!) and so I do sometimes still get intimidated by some areas of model making. However, it was actually pretty straightforward. For once, too, I found the decals naturally compensated for surfaces that protruded from the tail, where as these are quite often forgotten and make it quite hard to get a good finish.

The remaining decals were also just as easy to apply. I tend to find that Revell have constantly good producers for their decals (I’m yet to find a kit I’ve had significant issues with decal-wise). I particularly enjoyed the “ne marche pas” decals for the moving surfaces. These were a breeze to set on the aircraft and were clearly well designed in order to make the experience good for even the average modeller like me.
I had to rush the finishing of the aircraft a bit, as I was aiming to get it ready for a show (much like my Avro Canada Arrow). This meant some simple mistakes were made that led to me repainting (by hand) a section near the cockpit and slight silvering on a decal or two. This was entirely my fault, not the fault of the kit at all.


Leave a Reply