Avro Canada was relatively experienced with designing and building it’s own aircraft. Not only had it licence built American designs (such as the F-86) but it had relative success with the CF-100 ‘Canuck’ all-weather interceptor which was even exported to Belgium. A successor was always going to be a natural progression to the company.
The Avro Arrow for many people draws similarities to the British BAC TSR2 programme. It’s cancellation was massively controversial and seen as a step towards appeasing America in sacrifice of indigenous industry. If it had continued into service, it would have been one of the most advance and futuristic aircraft in the world (interestingly it would have been powered by Canadian engines which were also cancelled – the Iroquois). Further adding to the mystery of the aircraft was that it was ordered that material related to development of the aircraft (along with the aircraft themselves) were to be destroyed.
Thankfully, in modern times, I can just google the Avro [Canada] Arrow and find pretty much all surviving images and videos of the aircraft for free.

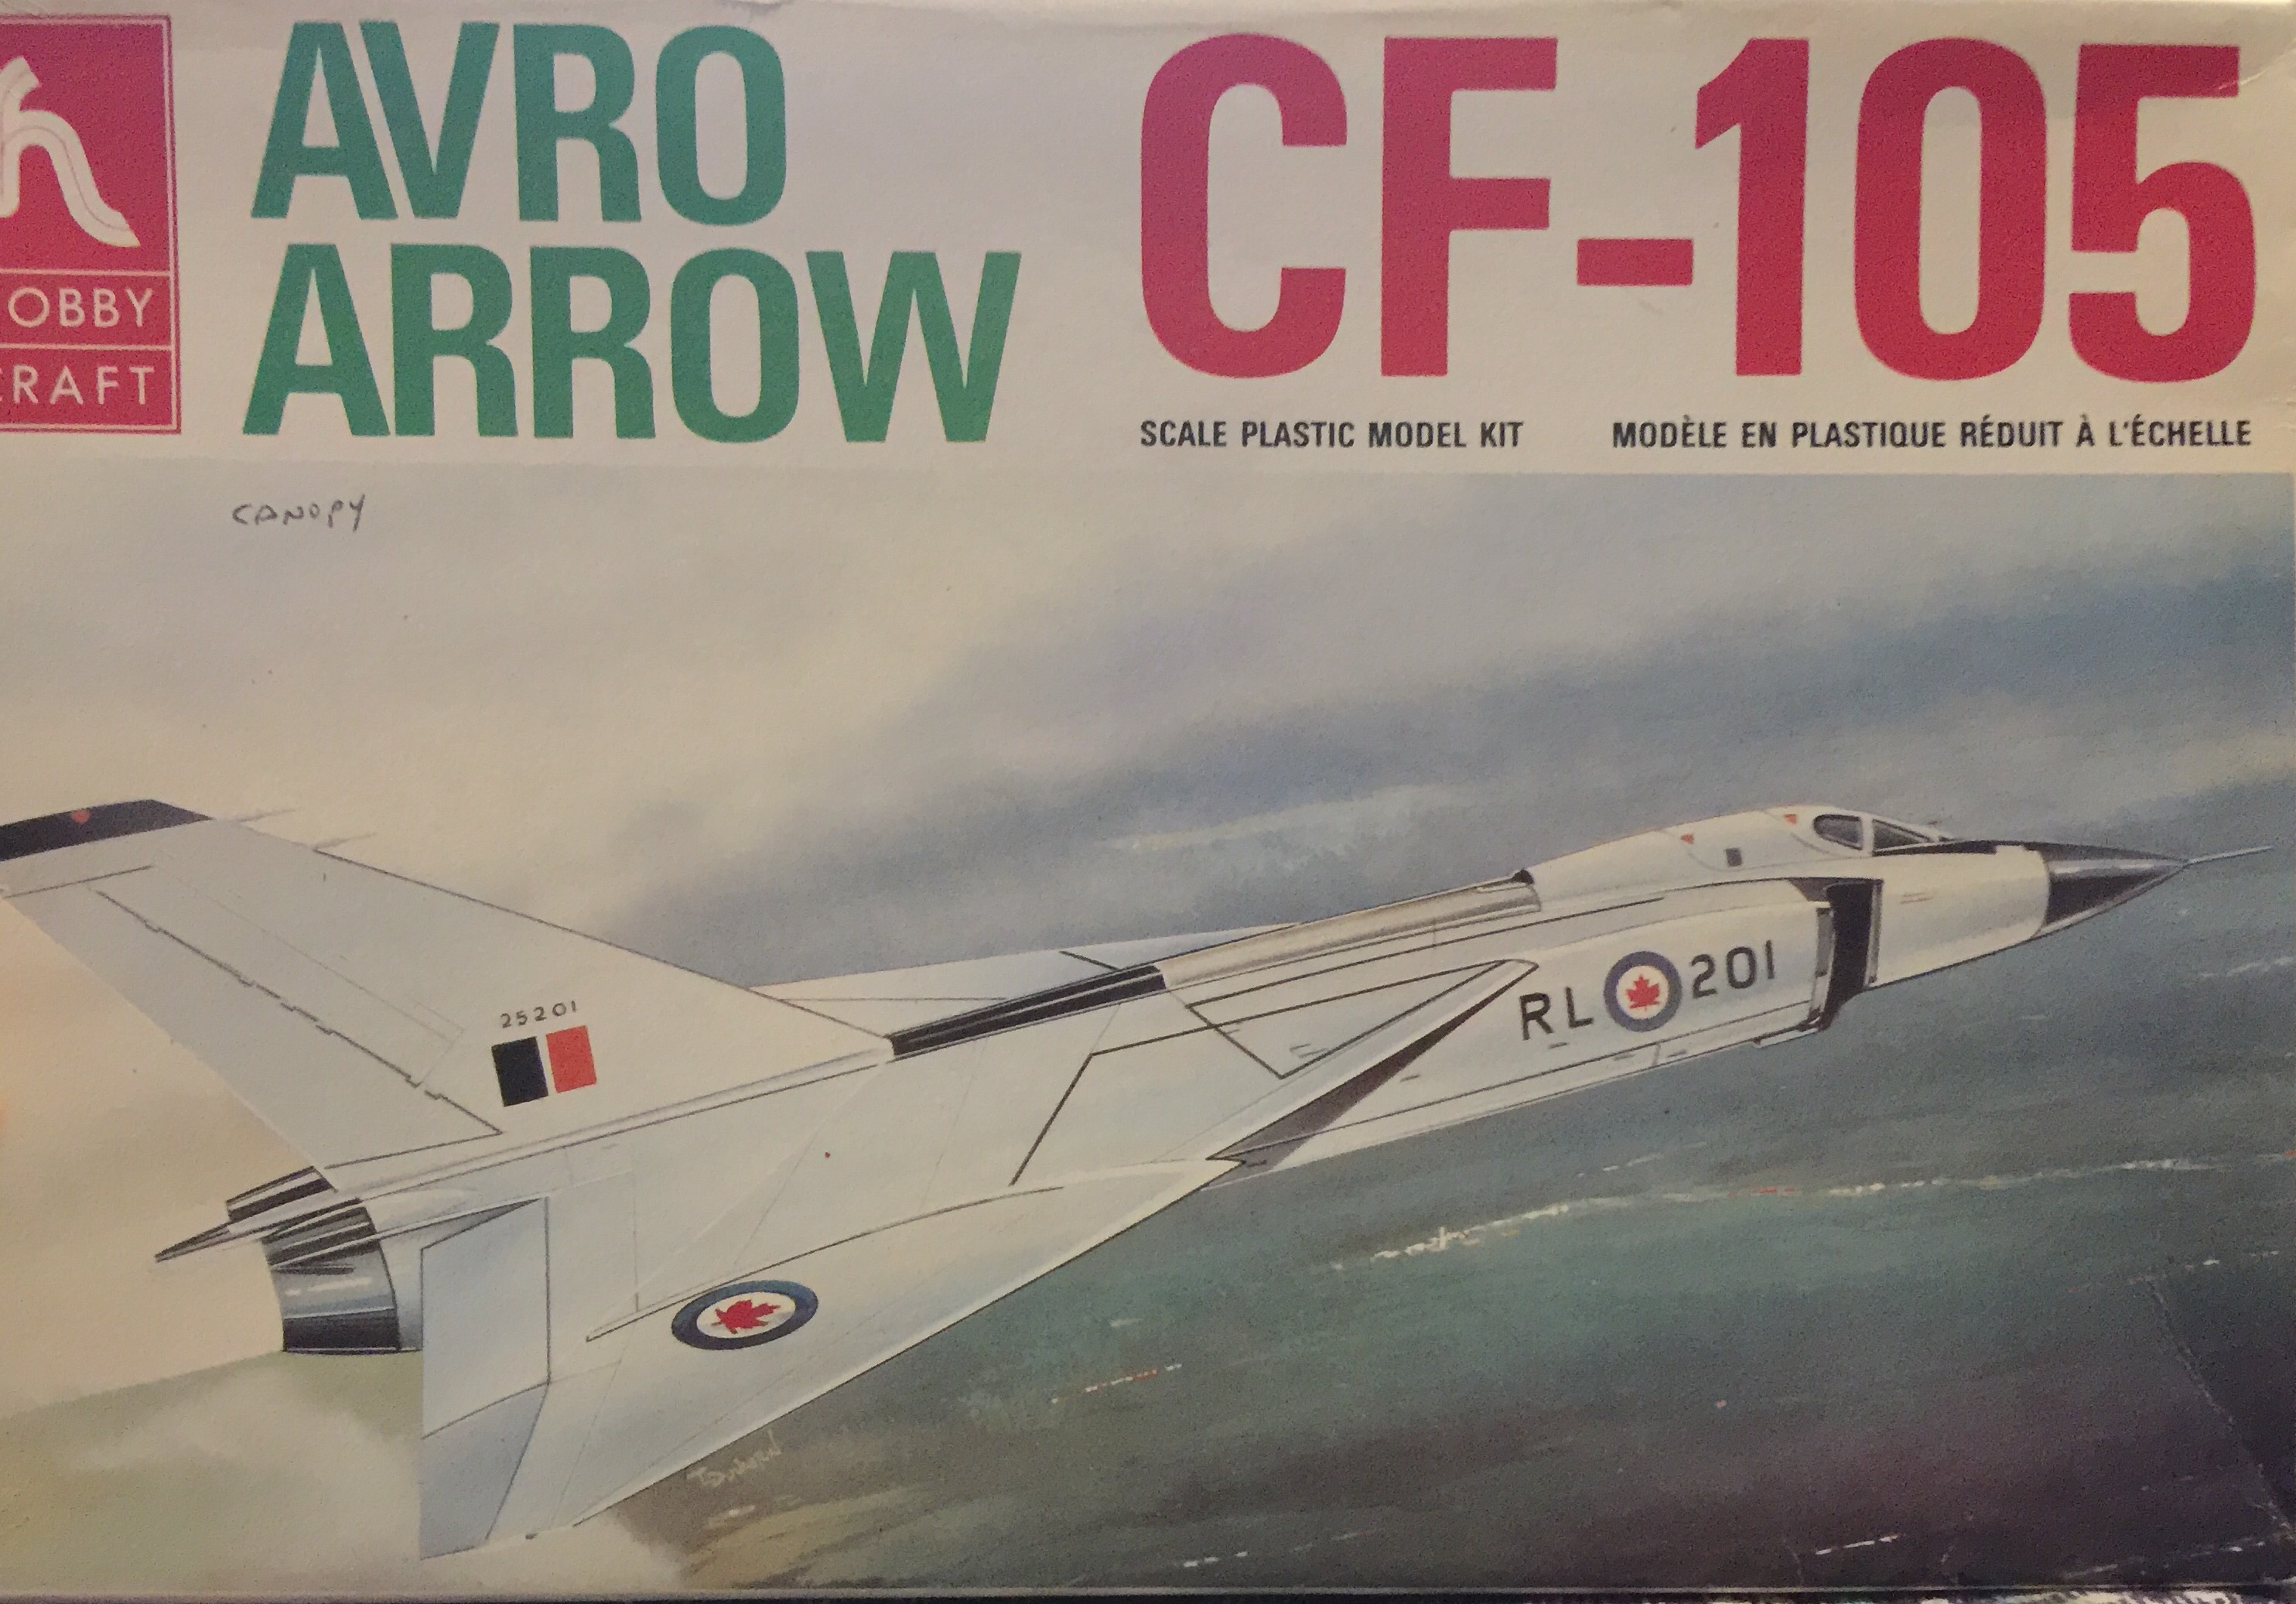
 Enter Hobbycraft. Hobbycraft are a company with a few untoward nicknames for their most mass-produced kits. Their kits tended to be on the basic side, with some questionable plastic used for their kits (more on this later). They are, nonetheless, the only producer of an injection-moulded Avro Arrow. It’s also the easiest to find kit – relative to trying to find the vacuform kits at least.
The kit itself contains 4 sprues and a clear sprue for the canopy (though mine actually came detached already). The actual parts are in pretty good shape – they have a nice recessed panel lines (though perhaps a little to-scale large), and good detailing. It’s still a simple kit that won’t take long to construct. I constructed and painted mine in a day. It consits of fusalage (upper and lower), cockpit (split left/right), two sets and flat ‘tub’, upper and lower wings, and tail section and the ‘hump’ that runs along the top of the aircraft along with landing gear. It fits together really easily, and I only opted to use fifller on the nose section just in front of the cockpit as this had a fair gap.


The decals will vary. If you get the original boxing you will probably want to replace the roundels for the most part. If you get the second boxing, then these are a bit better. I am ignoring the newest ‘re-tool’ as I haven’t even seen one of those kits.
In terms of the actual shape of the aircraft I’ve read around that it isn’t 100%. Personally for the differences that there were, I decided to just build it straight out of the box. My main regrets are that the engine section and air intakes could have done with minor refinement – but I’ve made it, and will live with the results.
In terms of the plastic, I found that it was pretty poor for gluing together. Some parts had to be glued two or three times before I’d get a decent connection. Ironically some parts seemed to snap together without any glue (such as the nose/cockpit section). I did add some lead weight to the front too – though I don’t actually know if it was absolutely necessary (note: it is in the instructions to add a 15g weight).
It is worth considering that there are two different releases of this version of Hobbycraft’s Avro Arrow. The original version (featured here) is more critically accused of being inaccurate. The re-release (which features updated decals and box-art) fixes a few minor issues – slight change to the wing shape and detailing for example. There is also a third release, featuring a CAD style box-art. This boxing is incredibly rare, however, and I’ve never come across it and could not possibly comment on it’s accuracy (it appears the kit wasn’t even that avaialable in Canada).
 I decided to opt for a ‘modern’ Avro Arrow look. I didn’t want to build the ‘white prototype’ version that actually existed (if I get a third boxing of this kit, I will build that). I wanted to show the Avro Arrow in it’s destined role.I used the paints listed in the Revell CF-18 boxing (4-1 57 and 04 for the upper surfaces, 9-1 76 and 04 for the lower surfaces). This gave me an appropriate scheme to work from. I also kept the black nose that was on the prototype and was also on a lot of fighters from the 1990s. Decals were given to me from a friend and are made by Zotz. They’re quite thick but did the job (if slightly yellowed from storage).

 As you can see, I had to do some design on the tail with some of the roundels. This is because the flag I originally had on there fell apart during the drying process (something I had with one of the roundels too).
I basically decided to cut up some roundels and arrange them in a somewhat organised pattern on the tail. Luckily, I think it actually looks quite cool so I’m really happy with it. Plus, it’s something unique.
Some of the original box decals did make it onto my kit, I am happy to say. These include the numbering for the aircraft, intake gradient effect decals, and the warning decals on the cockpit. A lot of the other warning decals were printed on white paper, however, and so could not be used without looking ridiculous on this model. These are pretty low quality, and if given the chance again, I would not use these.

I’m really happy with my Avro Canada Arrow even if it isn’t the most accurate or realistic that it could have been. It’s my first ever ‘what if’ design but also my first Canadian aircraft too! I’m sure this is something that will stand out at model shows and I’m going to have a smile on my face each time I put it on the table – even if this time I was in such a hurry to finish it for a show that I forgot to paint the metal on the wheels.


Review by Lexi (Little Miss Modeller).
Leave a Reply